
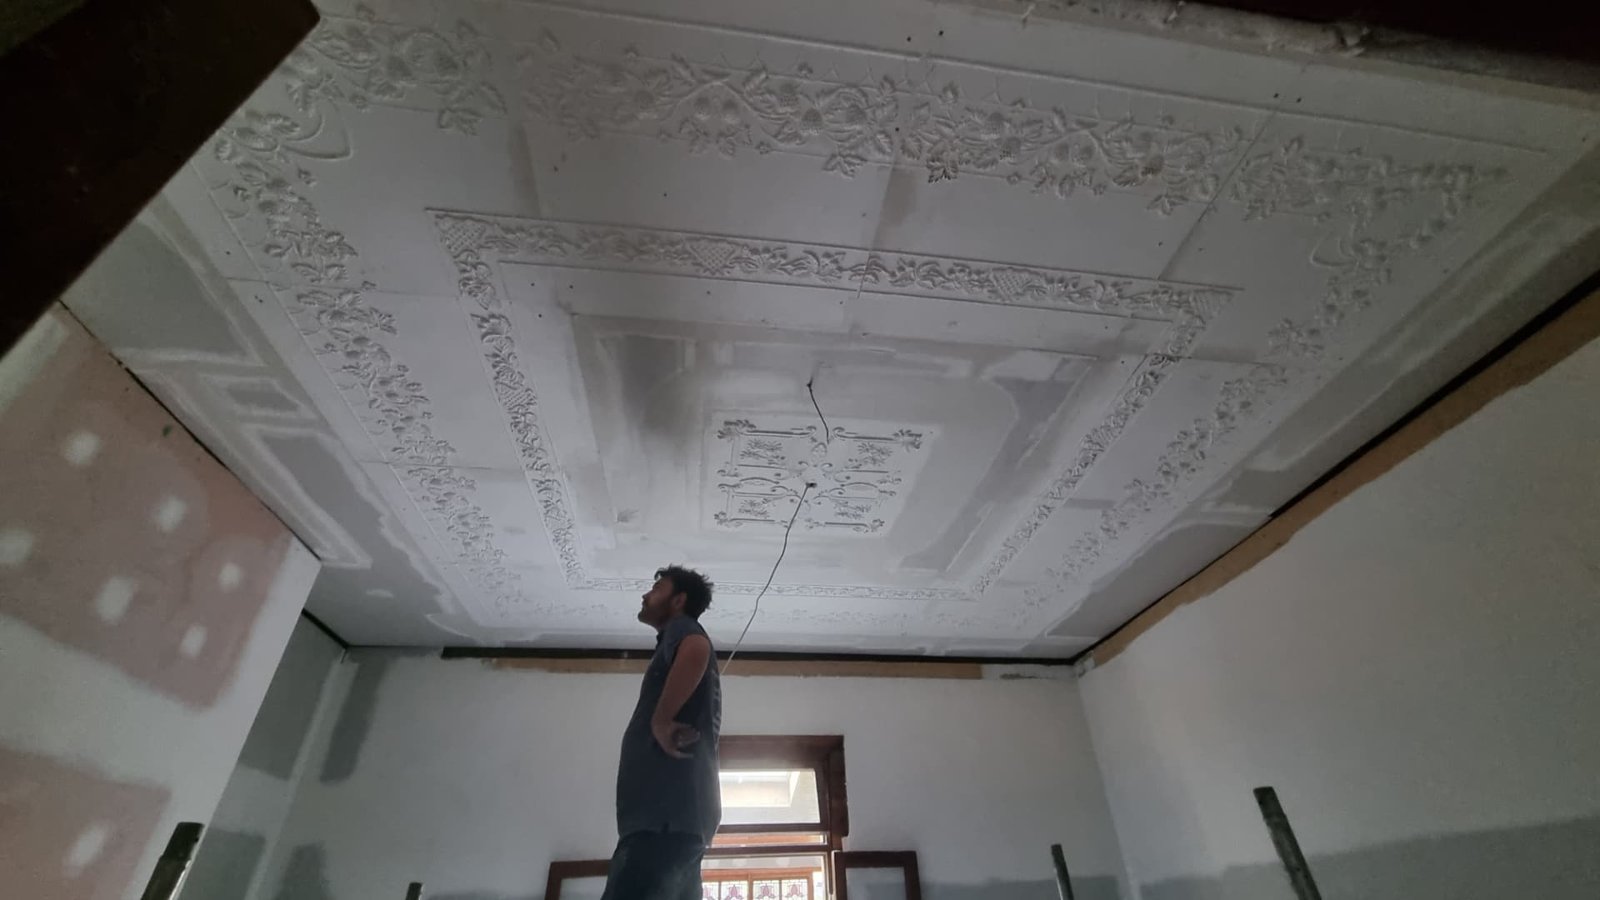
Ornamental cornices change the relationship between a wall and ceiling, but their depth also affects nearby fittings. A profile selected late can collide with a cupboard door, curtain track or air-conditioning outlet. Planning ornamental cornices in Milton is therefore a coordination exercise as much as a decorative choice.
Queensland Interior Linings can discuss the proposed profile alongside photographs, room dimensions and the planned joinery. A small sample viewed at table height is not enough to judge how a detailed cornice will work around an entire room.
Check both dimensions of the profile
Record how far the cornice projects across the ceiling and how far it drops down the wall. Compare those dimensions with cabinet tops, window heads and door trim. The design should leave practical clearance for moving parts, not merely a narrow visible gap.
For example, a tall cupboard door may clear the wall but strike a projecting cornice when opened. Ask the cabinetmaker to review the actual profile dimensions before manufacturing. The same care applies to curtain fittings that need space for installation and future removal.
Plan corners and stopping points
A room may contain short returns, recesses or changes in ceiling height. Mark each on a simple plan and decide where the profile continues, stops or transitions. Decorative patterns can look awkward if their arrangement is left entirely to the last cut.
Discuss external corners and short wall lengths with the installer. They may need particular attention to keep the pattern readable and the junction visually balanced. Our ornamental plastering page is a useful place to begin a conversation about decorative scope rather than assuming every profile is installed in the same way.
Assess what will support the cornice
Existing wall and ceiling finishes need to be sound enough for the proposed installation. Loose coatings, uneven junctions or old damage should be assessed before decorative material is applied. If stains suggest moisture, identify and address the source before carrying out ceiling-related work.
Where preparation could disturb suspect older material, arrange an asbestos assessment first. Do not scrape, drill or remove an unknown substrate simply to obtain a cleaner bonding surface. The support and attachment method should follow the manufacturer's complete specified system for the selected product and situation, not a general rule about fixing centres.
Coordinate surrounding trades
Have qualified electrical trades confirm any fitting changes near the cornice line. Settle curtain hardware and cabinet dimensions before installation, and ask the painter how detailed surfaces will be prepared and coated. A heavy paint build-up can soften a pattern's appearance, while poor access can make careful decoration difficult.
For a Milton project, keep the work area clear enough for safe access along each wall. Protect furniture and floors, and agree how cutting and finishing dust will be contained and extracted. Any finishing compound must be dry before sanding; detailed work is not improved by rushing that stage.
Make the handover specific
Check profile continuity, corners and transitions before the room is painted. Record any agreed limitations where existing walls or ceilings are not straight. A decorative cornice cannot be assumed to correct the geometry of the whole room.
Include these details in the wider residential plastering plan. When contacting Queensland Interior Linings, provide a room plan, profile reference and nearby fixture dimensions through the quote request page. Those details support a clearer scope and fewer late compromises around completed cabinetry.