
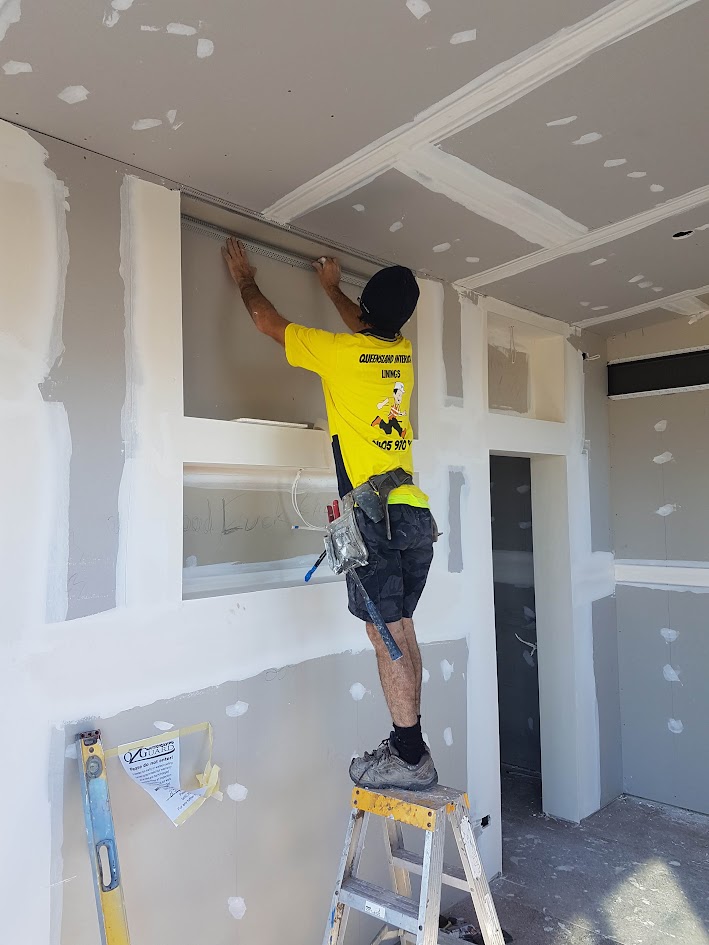
Setting and sanding sit between sheet installation and decoration, so both earlier and later trades can put pressure on the stage. Finishing is difficult to organise well if rooms remain damp, service holes are still changing or the painter is already waiting. For setting and sanding in Mount Ommaney, the programme should protect readiness rather than just reserve a date.
Queensland Interior Linings can discuss the finishing scope and the conditions needed before it starts. Clear access, completed service changes and agreed junctions give the work a better foundation than asking finishing compound to compensate for unfinished construction.
Confirm the sheets and details are ready
Review board condition, joints, corners and openings before applying finishing materials. Unsuitable support, damaged edges or alignment problems may need correction first. The responsible installer should confirm the complete manufacturer-specified system, including compatible joint treatment and any required trims or tapes.
There is no universal fixing spacing that can be checked against every board assembly. Finishing does not remove the need for correct installation underneath. Our plastering information can help separate sheeting responsibilities from the later joint-finishing scope.
Keep late openings out of finished surfaces
For example, an outlet relocation decided after the final coat creates another repair and another drying cycle. Have qualified electrical trades settle those locations before finishing. Cabinetry, vents and other fittings should also have confirmed positions where they affect the wall or ceiling.
If existing suspect older material needs disturbance, arrange asbestos assessment before sanding or cutting it. Do not assume every old textured or patched surface is suitable to abrade. Where ceiling work is affected by staining or dampness, identify and address the moisture source before proceeding.
Allow the compound to become ready
Follow the product requirements for application, coat timing and drying. A compound that has set is not necessarily dry enough for sanding or the next finishing operation; the relevant manufacturer guidance should determine readiness. Temperature, humidity and applied thickness can influence the process.
Avoid forcing the programme with improvised heating or by sanding a damp surface. Ask how ventilation will be managed and what happens if site conditions delay readiness. A realistic plan recognises that the finishing window can change without promising a universal turnaround time.
Define the dust-control arrangement
Contain the work zone, use suitable extraction and plan cleaning that does not simply redistribute fine dust. Keep occupants away from active sanding and protect adjoining rooms and completed finishes. Suitable equipment and personal protection should form part of the work method.
For an occupied Mount Ommaney home, confirm which routes remain open and where furniture will be stored. The residential plastering scope should identify protection and cleaning responsibilities so the painter does not arrive to an unresolved dust problem.
Review before decoration starts
Agree the intended finish and lighting conditions early, then inspect the prepared surfaces before painting. Record any retained texture, substrate limitations or additional preparation required. The painter should specify their sealing and coating process rather than assuming joint finishing includes every decorating task.
Bring Queensland Interior Linings the room list, current construction stage and proposed painting date when you request a quote. That helps establish whether the site is ready for finishing and what must be coordinated first, instead of treating sanding as a quick final task regardless of conditions.